MB Admin Columns
MB Admin Columns helps you display the custom fields' values in the table of the post list in the All Posts screen in the back end. It works with any custom post types and supports for terms and users as well (requires MB Term Meta and MB User Meta correspondingly).
Showing fields' values in the post table give users a better overview of the posts without going to edit each post. It saves you time verifying/viewing the data.

Showing custom fields as admin columns
To show a custom field as an admin column, go to Meta Box > Custom Fields and edit a field group. Click on a field that you want to show as an admin column and turn on the option "Admin column":
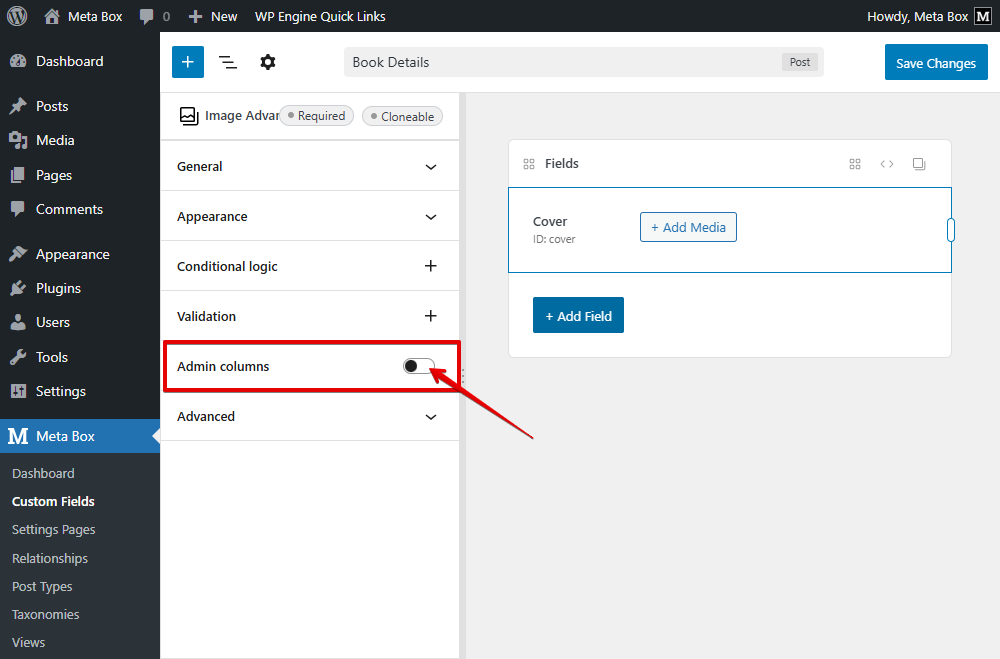
More settings will appear below that let you customize the admin column for that field:

These settings are self-explained. We also add some tooltips next to the setting title to give you more information if needed. Here is the list of the settings with the explanation:
| Name | Description |
|---|---|
| Column position | Where to show the column. You have to choose the placement (before, after, or replace) and a target column ID. |
| Column title | By default, the plugin shows the field name as the column title. If you want to change it, enter a custom text here. |
| Column content before | The content outputted before the field value. |
| Column content after | The content outputted after the field value. |
| Sortable | Whether the column is sortable. |
| Searchable | Whether the column is searchable. |
| Filterable | Whether the column is filterable. It's applied only to the taxonomy field, which allows you to filter posts by taxonomy terms. |
| Item link type | Whether to link the value to the post edit screen or post view on the front end. |
The instruction above uses MB Builder, an extension providing the UI to create fields, and is already bundled in Meta Box Lite and Meta Box AIO. If you prefer to use code, please see below.
Using code
If you're a developer and prefer using code to register admin columns, then you need to set the admin_columns settings for the field. Below is a sample code to register admin columns for a post type book:
add_filter( 'rwmb_meta_boxes', function ( $meta_boxes ) {
	$meta_boxes[] = [
		'title'      => 'Book Info',
		'post_types' => 'book',
		'fields'     => [
			[
				'name'          => 'Cover',
				'id'            => 'cover',
				'type'          => 'image_advanced',
				'admin_columns' => [
					'position' => 'before title', // Show before the 'Title' column
					'link'     => 'edit',         // Link to the edit post screen
				],
			],
			[
				'name'          => 'Author',
				'id'            => 'book_author',
				'type'          => 'text',
				'admin_columns' => 'after title', // Show after the 'Title' column
			],
			[
				'name'          => 'Pages',
				'id'            => 'pages',
				'type'          => 'number',
				'admin_columns' => true,          // Just show this column
			],
		],
	];
	return $meta_boxes;
} );
The admin_columns settings can be in one of 3 following formats:
- A boolean
true: to simply display the admin column. - A string "before title": to specify the column position. It accepts 2 words: the first one is the placement ("before", "after" or "replace") and the last one is the target existing column ID.
- An array of advanced configurations, as below:
'admin_columns' => [
    'position'   => 'after title',
    'title'      => 'Price',
    'before'     => '$',
    'after'      => ' USD',
    'sort'       => true,
    'searchable' => true,
    'filterable' => false,
    'link'       => 'edit',
	'width'      => '10%',
],
| Key | Description |
|---|---|
position | Specify where to insert the new column. It accepts 2 words: the first one is the placement ("before", "after" or "replace") and the last one is the target existing column ID. |
title | Column title. Optional. Default is the field name. |
before | Custom HTML outputted before the column content. Optional. |
after | Custom HTML outputted after the column content. Optional. |
sort | Whether to sort the column by meta value? Set to true to just enable sorting. Set to numeric to sort values as numeric. Default false. |
searchable | Allow searching posts by meta value. Optional. Default false. |
filterable | Allow filtering posts by the custom taxonomy. Applied only if the field is the taxonomy field. Default false. |
link | Whether to link the value to the post edit screen (value edit) or post view on the front end (value view) or no link (false). |
width | The column width. |
Note that the sort parameter is used to sort displayed posts by altering the WordPress query. It works only with non-clonable and non-multiple fields.
Custom admin columns
By default, the extension is made to work with fields created by Meta Box. However, there are situations where you want to make it work with non-custom fields by Meta Box. And that's possible. Follow the steps below (note that it requires some coding):
Step 1: Creating a custom PHP class
Create a new file custom.php (you can name it anything you want) in your plugin/theme folder where you need to extend the \MBAC\Post class:
class Prefix_Custom_Admin_Columns extends \MBAC\Post {
    public function columns( $columns ) {
        $columns  = parent::columns( $columns );
        $position = 'after';
        $target   = 'title';
        $this->add( $columns, 'column_id', 'Column Title', $position, $target );
        // Add more if you want
        return $columns;
    }
    public function show( $column, $post_id ) {
        switch ( $column ) {
            case 'column_id':
                echo 'Column content';
                break;
            // More columns
        }
    }
}
The custom column(s) is added via the call $this->add( $columns, 'column_id', 'Column Title', $position, $target );. You can repeat that code to add as many columns as you want.
In the show function, you must add code to display the content of these columns.
Step 2: Instantiating the class
In your plugin main file or functions.php of your theme, add the following code to create an instance of the class above:
add_action( 'admin_init', 'prefix_add_custom_columns', 20 );
function prefix_add_custom_columns() {
    require_once 'custom.php';
    $post_type = 'post';
    new Prefix_Custom_Admin_Columns( $post_type, [] );
}
The call new Prefix_Custom_Admin_Columns( $post_type, [] ); tells WordPress to add custom column(s) to $post_type. You can change this to another post type if you want.