Building a hotel booking website using Meta Box - P1
A website for hotel booking usually has 4 common pages:
- The archive page for all the rooms, along with their information.
- The Booking page in the backend for your internal use.
- A front-end page that allows customers to book a room.
- The booking management page in the backend.
In this first guide, we'll create a room page. Other functionality will be covered in the next tutorials in this series.
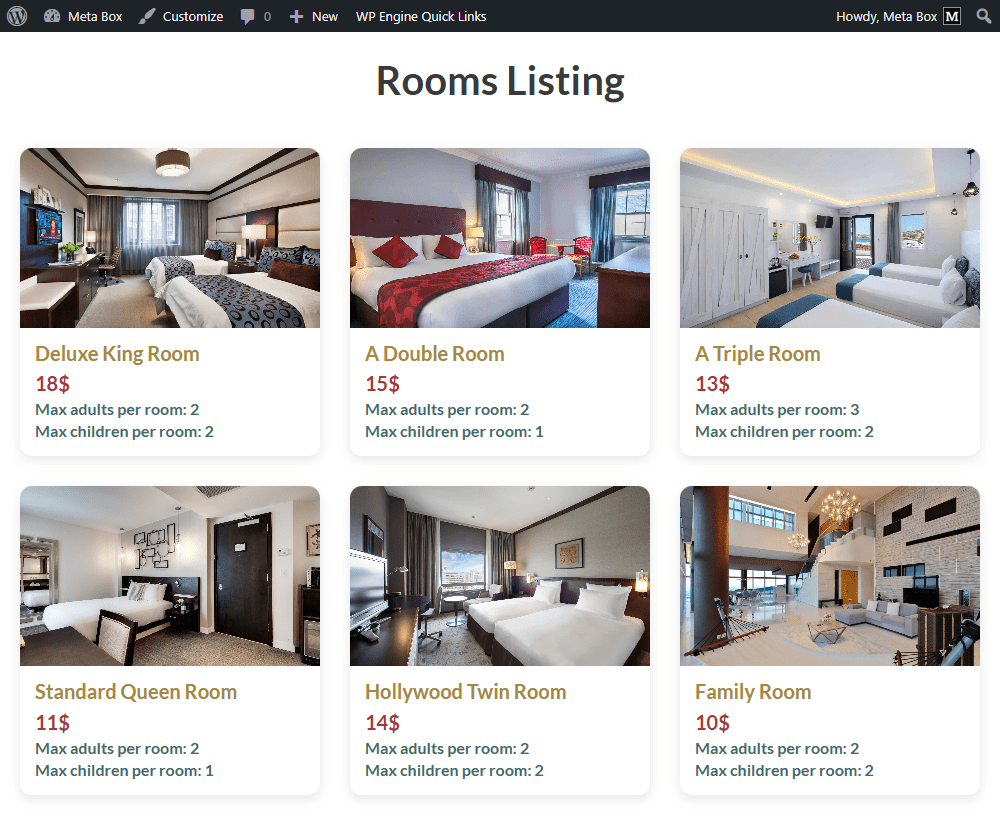
This is my page of rooms as an example:
Video version
Preparation
Each room is a post of a custom post type. It usually has information about name, image, price, and other information that will be saved in custom fields. As well as, I use custom taxonomy to store types of rooms.
So, we highly recommend you use Meta Box AIO to have a framework to create a custom post type, a custom taxonomy, and custom fields. Also, it includes all the Meta Box extensions that you need for your creation.
These are extensions you may need:
- MB Custom Post Types and Custom Taxonomies: to create a custom post type for the room, and a custom taxonomy for the room types.
- MB Builder: to have a UI on the backend to create the custom field visually and efficiently.
- MB Views: to create a template for displaying rooms.
Let’s start now!
1. Creating a new custom post type
Go to Meta Box > Post Types, and create a new one for the room.

In the Supports tab, you can disable the Editor option to skip it in the post editor. All the information about the rooms will be added through custom fields.

After publishing, a new menu will appear right here. It’s your post type.

2. Creating custom fields for the room information
As I said above, we’ll create custom fields to store extra information about rooms.
Go to Custom Fields in Meta Box and create a new field group.

These are some fields I created:

They are the basic fields and no special settings. In the case that you want to add more information, just choose the corresponding field type provided with Meta Box.
After having all the fields, click to the Settings panel, set the Location as Post type, and choose the Room to apply the fields to this post type.

Now, go to the post editor, and you can see all the fields displayed look like the live preview in the field creation screen.

Just enter the data for each room.
3. Creating a custom taxonomy
We need taxonomy to save the room type. So, let’s create it.
Go to Meta Box > Taxonomies.

In the Advanced tab, you can enable the setting I highlight in the image below to show the taxonomy as a column in the admin dashboard. It’s available only when you activate the MB Admin Columns extension.

Next, move to the Post Types tab, select the Room to apply the taxonomy to it.

Then, you can navigate to the taxonomy to create some terms.

In the post editor, you can see a section that allows you to select the term. Then, they will be in a column like this:

4. Displaying rooms on the frontend
To display rooms and their information on the frontend, you can use any page builder you're familiar with, or MB Views. In this practice, I will use MB Views. We have had many tutorials about how to display posts using MB Views, along with different functionalities such as filtering and searching. You can refer to them.
On the Meta Box, click on the Create a view button to have a new template for the archive page of rooms.

In the Template tab, you can add code directly or insert a field to get the data you want.
First, I add this code:
{% set args = {  post_type: 'room',   posts_per_page: -1,  orderby: 'date',order: 'DESC'    } %}
{% set posts = mb.get_posts(args) %}
{% for post in posts %}

{% endfor %}

In there:
{% set args = { post_type: 'room', posts_per_page: -1, orderby: 'date', order: 'DESC' } %}: is to declare that we’ll get posts from theroompost type.mb.get_posts(): is a Meta Box function to get the posts.{% for post in posts %}...{% endfor %}: is a loop we use to get all the posts, since there are various rooms.
Inside the loop, we’ll get data for each room.
For the image, we’ll get the first one in the room gallery. So, I add this part:
{% if post.gallery|length > 0 %}
    {% set first_image = post.gallery|first %}
    <img src="{{ first_image.full.url }}" alt="{{ first_image.alt ?? post.title }}">
{% endif %}

To display other information, I use the Insert Field button and choose the field from the right panel.
When you click on a field, the code will be generated in the Template tab.

Just insert the field you want to get and display data.

I added some div tags and classes, as well as modified the code a little bit.

After that, scroll down to the Settings tab to set the location of this template. I set the Type as Archive and select Room Archive to apply the template for the archive page of rooms.

On the frontend, all the data is displayed. But it needs to be made more beautiful.

Back to the created template, move to the CSS tab, and add some code to style the page.

Now, our page is better with the room information.

I uploaded the code to GitHub, you can refer to it.